

LazyGuy DIY Paints his Garage Doors
Garage Conversion: Doors Are Done!
September 6, 2016/Lazy Guy
Spoiler alert, this post contains both affiliate links and products provided by the folks from Fuji Spray and Ryobi Tools. You might think they are trying to buy my love, but that love is reserved for my family, my dog Gus and beef jerky. My opinions are my own, unless my wife disagrees, then my opinions are her’s.

Remember these doors? You know from last week’s post? So long ago I know. It’s possible you blocked them from your memory because they reminded you of the storm drain scene from the movie “It” where the little boy’s boat goes down the gutter and Pennywise, the clown who made generations terrified of clowns is in there ready to snatch his arm… On a happy note did you know that the clown was played by the lovable Tim Curry? Ha.
Any who, we ripped those suckers off and closed off the giant hole in last week’s post on The Scary Doors. Now you can see how we finished them (not Mortal Kombat style with a flawless victory…) but to actually end up looking pretty…pretty awesome! Remember, these are false doors, we no longer wanted alley access. So if you’re going to rob us, hopefully the fake doors disorient you long enough that you choose not to scale a fence, fight off the attack chickens, say hello to our neighbors and then smile for the security camera while you’re trying to figure out how to open the sweet touchscreen deadbolt I got from Kwikset at Haven… because that seems like a lot of work.
We had already primed and started to trim out the doors last week, so this week it was all about the cosmetic stuff. Luckily, the awesome folks at Fuji Spray sent me their new DIY version of their paint sprayer called the PaintWIZ.
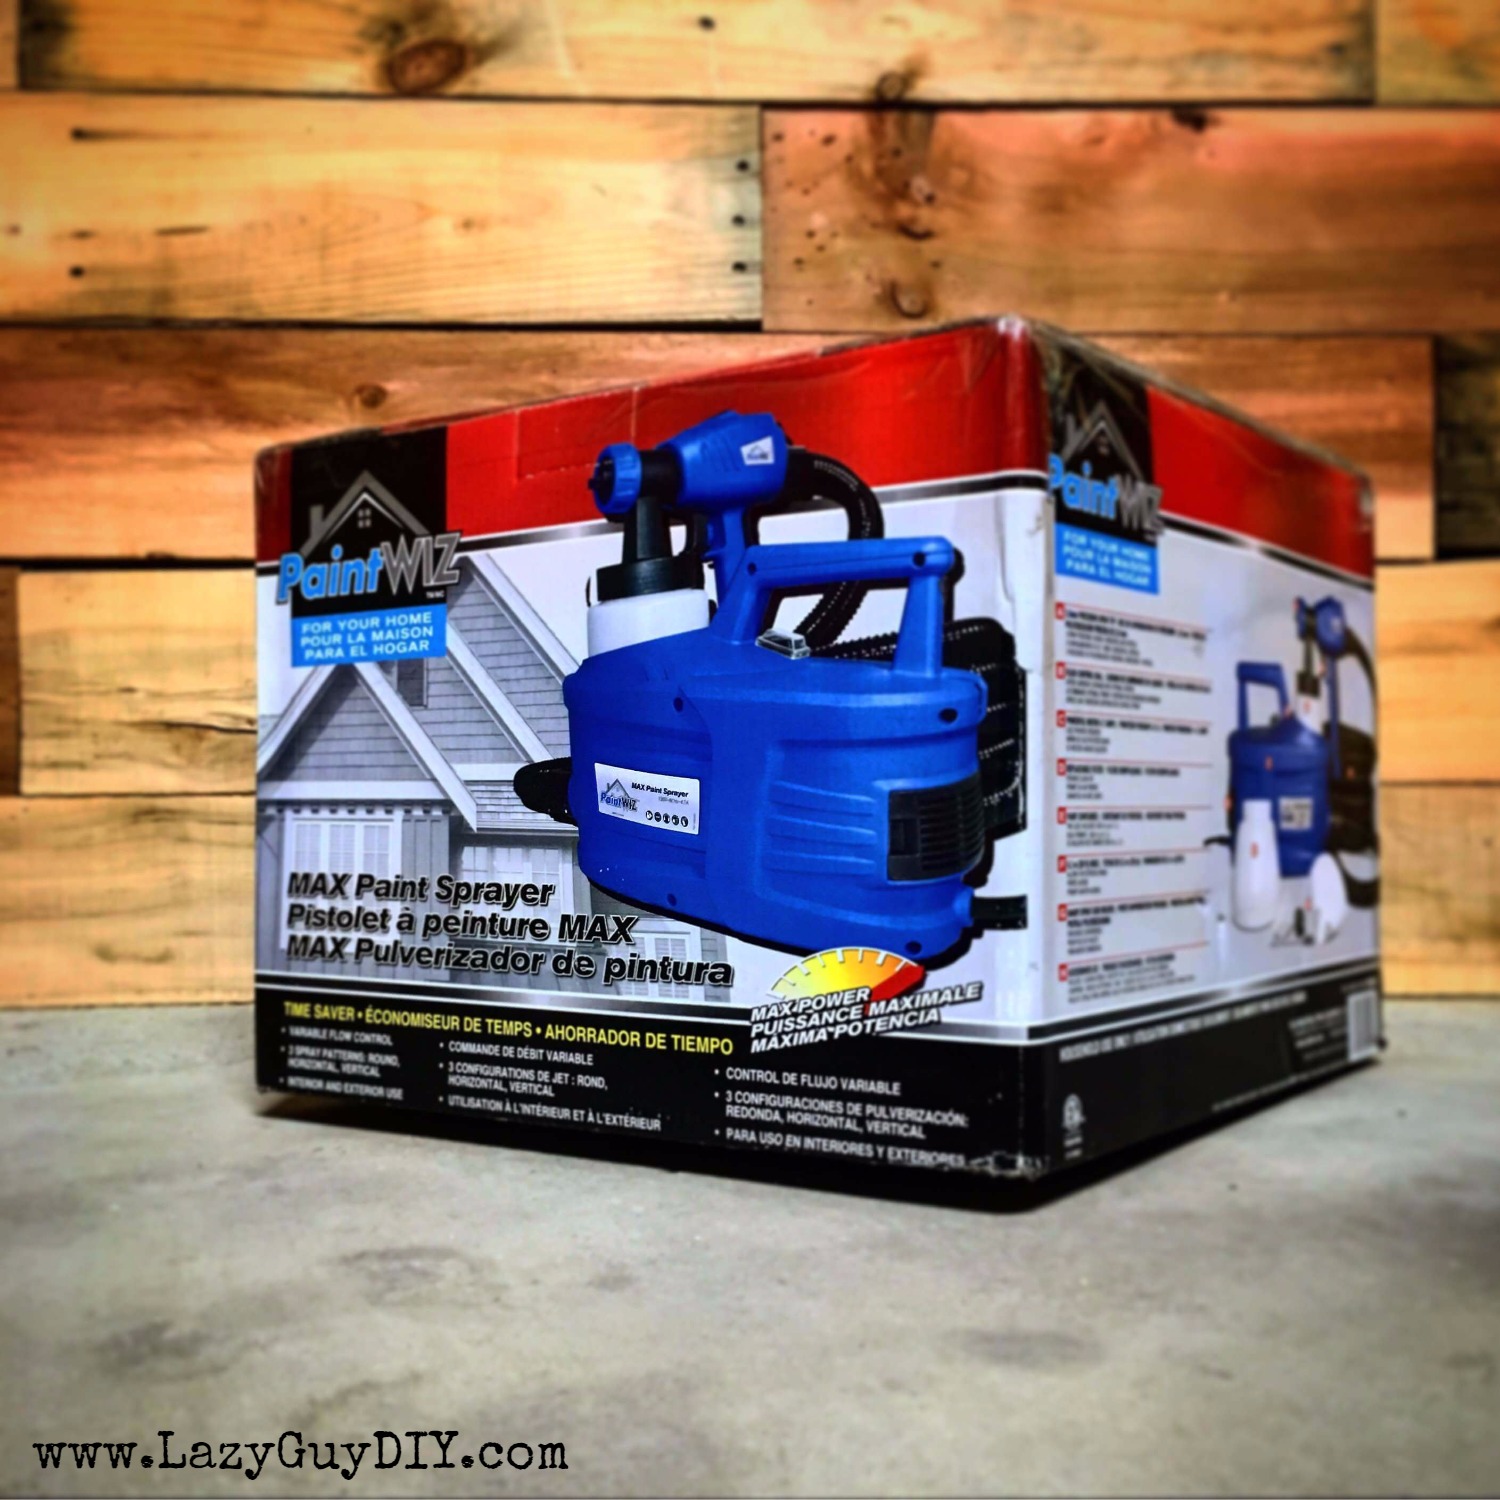
So let’s talk paint sprayer first. I have only used a handful of sprayers before with mixed results. Clean up has always been awful, clogging is pretty much a given and oh yeah, you need to hook your air compressor up to it and lug it around. Not fun.
Do you ever watch those competition shows where they have a “flash challenge”? There’s a time limit that’s impossible to meet and if you perform worse than your fellow competitors you’re sent home an utter failure. That’s what I went for with the PaintWIZ. My daughter was down for a nap and I thought I could pre-tape, paint and clean up the sprayer before she woke up. If you’re a DIY’er parent you know this routine. I opted for the Double Dare Physical Challenge, tested fate and gave it a go. Out of the box it was easy to assemble and the instructions were very clear. Attach hoses, fill up with paint, press power, go to town. Or paint the town red. Or in this case paint the doors turquoise.

You absolutely need to filter your paint before you use it though, even with a brand new can of exterior paint from The Home Depot, I still had chunks end up in the filter, which leads to clogging, which leads to disaster… and tears. And no one wants to see you cry on your YouTube videos. Also, because this was a thicker exterior latex paint, I added a little Floetrol so it ran through the sprayer a little smoother. Follow the recommended dosage per the label.
So how did it paint? And before you say it, yes, we painted the man-shed/workshop/garage with a pretty turquoise blue we picked up at the Home Depot. I might work in the shop, but my wife still has to look at it.
So smooth… loved it! How about the clean up? Well remember that Flash Challenge? Just as I was finishing up the painting the kiddo was waking up (yes I brought the baby monitor outside with me). Panic hit and I quickly grabbed all my tools and dashed to the basement sink for clean up. It probably took less than 5 minutes. With a little warm water and soap, I was done in minutes. The parts easily disassemble to the point where cleaning is as easy as doing dishes. Which despite those eye rolls I can see (and feel) I do occasionally do dishes. The Fuji folks also add a little brush that really helps with the nooks and crannies (like an English Muffin). When you’re finished scrubbing, you fill the reservoir with a little warm soapy water and spray out any residual paint. Then you’re done. The kid didn’t even start yelling “daaaaadddd, dad, daaaaaaaddd, dad, daaaaaaaaaaaaaaad”

With the doors* painted and the trim given a nice coat of paint, it was time to add the hardware. My wife picked out a great set of Everbilt barn door/gate hinges from the The Home Depot with these matching Everbilt Gate Pulls. I also got a chance to try out my new Ryobi One+ Drill and Driver combo kit that the folks at Ryobi Nation sent me. Torque… so much Torque (more power!!!!! *insert Tim Allen noise). Plus, it’s got a magnet on the front that came in handy when each hinge came with 7 screws… that I actually didn’t lose because of this smart feature. Bonus, the Ryobi green really complimented the doors while my orange driver would have really clashed. Ha.

The last touches were the barn door trim. Which I made more difficult than I should trying to figure out the angle. Only about 10 minutes in did I realize I had made the door faces square and instead of trying to remember “how to math” I could just make 45 degree cuts and call it a day. I could use my compound miter saw, but then I would have to drag that beast out and put it on a stand and run the power cord to it. Instead… Home Depot had a nice little price point on the Ryobi One+ circular saw. I bought this myself so I can say what I want about it… muwhahaha!!! So prior to purchasing I was apprehensive of this tool because it’s only a 6.5″ blade, plus it’s cordless. How was it going to perform? Oh yeah, it’s a left side mounted blade. I’m a righty, what’s that all about? I usually use my monster Makita corded circular saw so how could this little thing compete? One thing I did do to help level the playing field was grab a Diablo 24 tooth saw blade before evening opening the box. I’m sure the blade provided works fine, but I’ve always replaced my blades no matter what came from the factory. So how did it do? Awesome! Here’s where this tool makes the biggest difference, it’s ridiculous light, even with the battery pack on it. I think it’s only about 5-6 lbs. Meanwhile, my corded circular saw is 13-15 lbs. That’s a major difference when you’re talking about making precision cuts at funny angles on small material. I could very easily run this saw one handed while using a square as a guide with the other hand. I would have to clamp down each piece of material, plus the square, then use two if I used my big saw to do the same job. Also, let’s talk left blade mount compared to right blade mount. Like I said, I’m right handed, which means the saw is offset to the right when I cut. With a left mounted blade I can look directly at the blade to line up my cuts. I can only equate this to driving a right side drive vehicle on the right side of the road, it makes no sense. Why more circular saws aren’t left mounted can only be explained by the engineers all being left handed jerks forcing their backwards ideals on us.

With the trim painted, installed and caulked, I can officially wrap this project (at least the doors*). It turned out fantastic if I do say so myself. Although I’ll give plenty of credit to my dad for his help with the rebuild and begrudgingly to my wife who was not only right about the paint color but the hardware as well. Unfortunately, it looks like when you see a junky VW Beetle with a Rolls Royce grill on it right now. High-end looks… but just on the front (or back in this case). Ha. More to come with the conversion as it progresses.
If you have any questions about the process or the tools I use, please contact me on the link provided.
~ Lazy Guy