

Lazyguy DIY Talks Cleaning
I See Your Red Door…
September 21, 2016/Lazy Guy
This post contains a product provided by the fine folks at PaintWIZ. My opinions are my own; unless I get outvoted by my wife and daughter and in those cases we generally watch the Little Mermaid and eat goldfish (the crackers, not the fish).
By now you’ve probably seen that video that absolutely went viral, sleeveless shirt guy with backwards cap sprays the doors on his garage in record breaking time before his toddler wakes up from a nap. It was an absolutely riveting, edge of your seat type of watch, but with no Michael Bay explosions. Okay okay, it might not win an Oscar and probably not even a Razzie, I mean, it was shot with an iPhone propped up on a trashcan. It was a real grass roots production. What was significant about the video is that this was my first experience using the PaintWIZ Turbine MAX sprayer.
As any Do It Yourself’er who has young children knows, a lot of your projects are going to be completed during nap time, which is why my first experience was the ultimate test. I needed to prep the surface, assemble the sprayer, filter and fill the paint into the reservoir, paint the surface (quietly), then disassemble and clean the unit before the kid wakes up. You want to talk about pressure? That’s a high stakes game right there.
But let’s talk about the sprayer first! I wouldn’t call myself a traditionalist, but most of the time I paint a project I’m using a paint brush or a foam brush. Just like you, I watch those shows on TV where people spray paint their projects (with a can) and I cringe because, just like you, mine always look terrible after the application. I’ve dabbled with actual paint sprayers a handful of times as well and as a fellow DIY’er, we probably have the exact same complaints: You have to hook it up to an air compressor, which means it’s not only deafeningly loud, but you also have to constantly adjust the air pressure so you’re not creating an uncontrollable mist of paint that goes everywhere. And oh by the way, it’s impossible to clean. The companies make these units with ridiculously tiny parts that seem to clog up with gunk and because you can’t get into these areas, the paint dries and you can never use the sprayer again. Sound familiar? It should.
The people who make the PaintWIZ seem to know all of this, because it comes from the folks at Fuji Spray. They make high end sprayers for pros and even spray tanners! (G-T-L anyone?) What that amounts to is plenty of experience for when a company tries to make a sprayer model for someone who is absolutely not a professional painter. As a non-pro, I can tell you, they really nailed it with the PaintWIZ.
WHAT’S IN THE BOX!
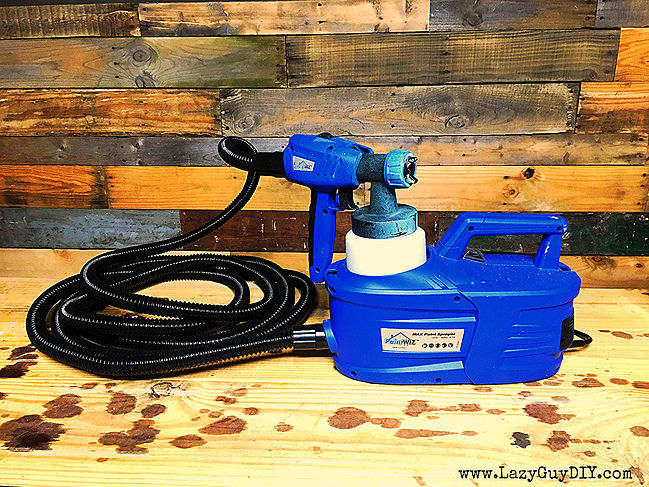
Let’s talk about the first impression. If this was a blind date, there might be some quizzical looks when you first meet because of what your date is wearing. You know they come from a good family, but instead of a refined look, they are wearing a t-shirt and jeans, super casual. What does this obscure metaphor mean? Traditionally, Fuji Spray’s tools are heavy duty and full of metal parts, the PaintWIZ is almost entirely plastic. Don’t let that deter you though, because this unit is all about performance. Plus, that plastic makes the unit lighter and more affordable. The technology comes from the same place and because we’re talking paint sprayers and not safety features on your SUV, the plastic is welcome to a DIY’er who doesn’t want to lug a heavy sprayer around. Or even worse, have to roll it around on a cart.
THERE ARE A BILLION LITTLE PIECES RIGHT?
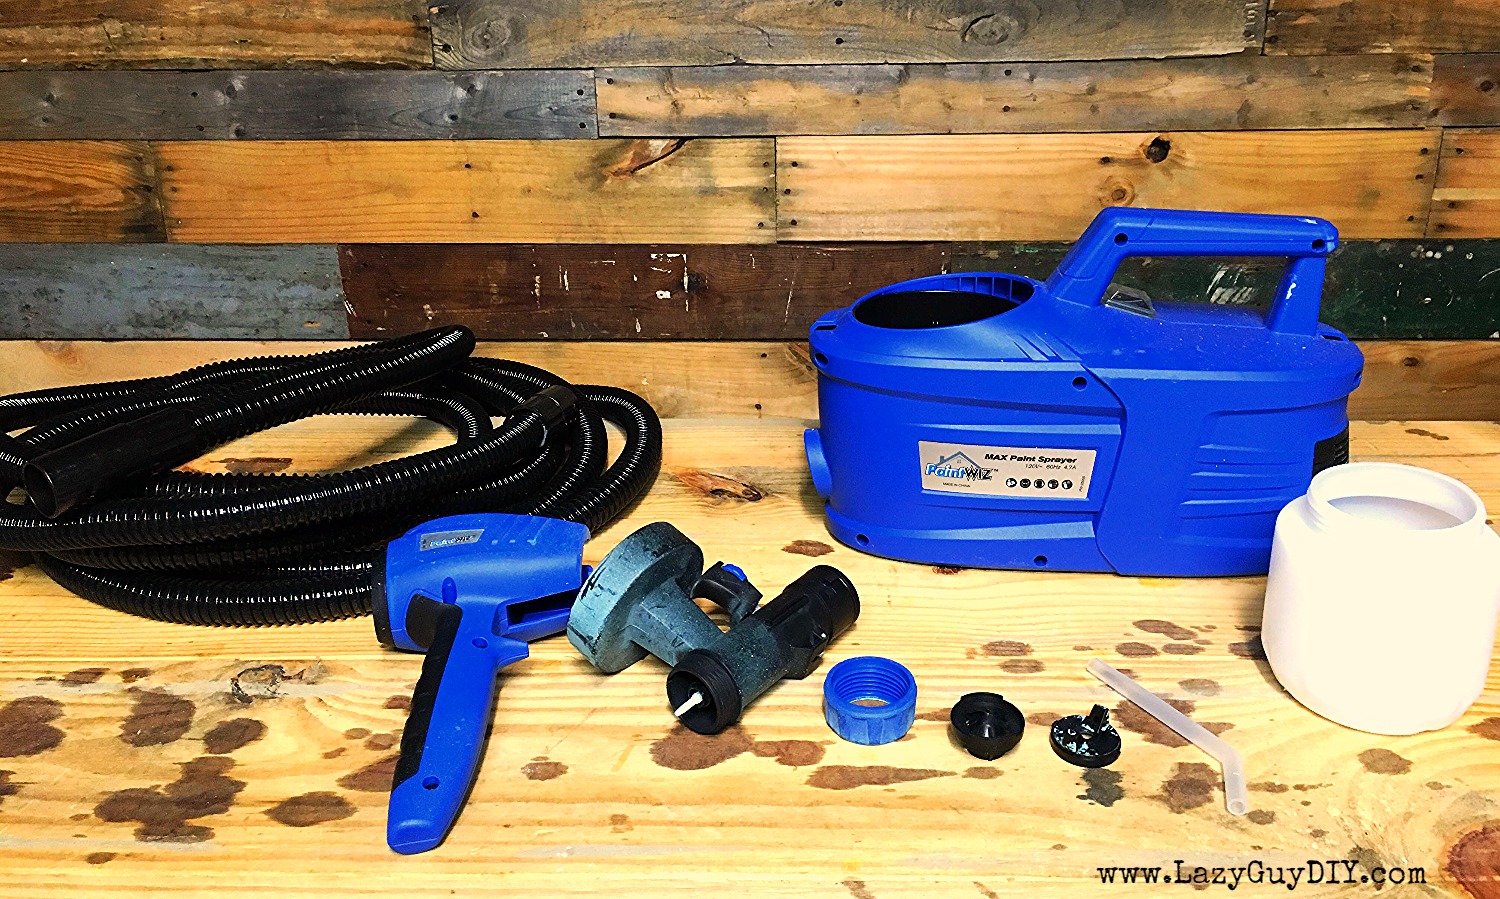
So what about putting it together? This has got to be difficult right? Ready for this? Plug one end of the hose into the back of the turbine unit; plug the other end into the back of the sprayer. Done. Seriously. Other than attaching the paint cup or taking apart the pieces of the nozzle for cleaning, that’s the extent of putting the unit together. I told you it was easy.
PAINT ALL THE THINGS! Well, almost

When it comes down to time to actually painting, they do include a handful of filters (they look like coffee filters) that are a MUST USE for your project. You can use other filters if you want to, but this is that magic step in the process that makes or breaks your project. The can of paint I used on my first run was brand new. It wasn’t one of my $9.00 clearance item cans I generally pick up; it was a legit purchase at full price, freshly shaken can of paint. Even with that caveat, I ran the paint through the filter anyway. It still pulled gunk out! If I had run that through the sprayer I would no doubt get clogs. So here’s your Lazy Guy Pro Tip of the day: ALWAYS FILTER YOUR PAINT before you put it through a sprayer. Exterior paint is so thick to begin with that it took quite a while to strain through the filter. We’re talking watching a tea kettle begin to boil levels of waiting. Speaking of thick paint, there is something that’s called the “viscosity cup” included in the box. What you do is dip it into your paint/stain and as it drips out at a certain pace, you can tell what your material is and how to proceed with thinning the contents. (I didn’t use it… I knew what my material was).
You mean you can’t just dump paint into the cup and start spraying? I mean you can, but then you’re going to have issues and not the kind your therapist can fix. Don’t worry if you’re a first time sprayer and didn’t realize this, it’s a common mistake. I typically use Floetrol* (latex paint additive) that you can easily pick up at The Home Depot. It’s a Latex & Acrylic paint additive that doesn’t necessarily “thin” the paint, but changes the consistency to help it flow better, which means less clogs and smoother painted surfaces. You can thin the paint with water as well, but this stuff has never failed me. Mix as directed with your paint and get ready to spray!
NOW PAINT ALL THE THINGS!

When it comes time to paint, the nozzle has two main settings: horizontal and vertical fan. Order in the next 30 minutes and I’ll throw in a 3rd setting for free! Just kidding, it comes standard. If you adjust the nozzle directly between the horizontal and vertical setting then you can get a smaller circular sized spray pattern. However, because the aperture is smaller, you have to dial down the amount of paint that comes out by turning the dial on the trigger. Set it too high and you get a fine mist of paint to coat you and every surface in the area.
I think we missed a step though. How do we get this thing to start spraying paint? Ready for this? Plug the cord into an outlet and then press the “on” button. You’ll notice I did not say hook it up to your air compressor and adjust and readjust the air pressure. This is as plug and play as you can get. With 20 feet of hose that runs from the turbine to the gun you have plenty of room to maneuver.

THE CLEAN UP
Alright, remember my impossible scenario with the sleeping toddler and having to get the job done before she wakes up and starts yelling “Dad! Dad! Dad! Daaaaaaaaaaaddd!” This mission, if I chose to accept it, did not mean I ONLY painted the doors and then I was done. No no no, this also meant I set up, painted and then cleaned all the parts of the sprayer and then had everything put away before she woke up. Once again, this was a high stakes game I was playing. This is also the part that really sets the PaintWIZ apart from the competition for me. I painted two 8 foot garage doors and cleaned the entire unit in about 15 minutes total. That was also with only a few touch ups on areas I missed (user error) and then stopping to read directions for cleanup.

After disposing of the rest of the paint in my cup (remember, it had an additive so it can’t go back into the paint can), I very easily cleaned it out with warm soapy water. I put a little bit of soapy water back into the cup, hooked up my paint sprayer and then ran the soapy water through it for a few seconds to help clear out the line for any additional paint. With that done, you can unplug the unit, unhook the hose and go to town disassembling the spray nozzle. It’s more difficult unscrewing a cap on a bottle of soda than it is to take the nozzle apart. Clean the collar, air cap and nozzle with warm soapy water and the provided brush.
With those parts drying, switch the unlock button on top of the sprayer and slide the front and back of the pieces apart. Clean those pieces with soapy water as well. There really aren’t any nooks and crannies so you can almost just rinse and go. Before you put the two pieces back together, they do recommend you add a little Vaseline to the O-ring to keep it from drying out. Last thing to do is use the brush to clean out the plastic filler tube. It’s the perfect size so it slides through and should get most of the excess paint on your first attempt.
WHAT’S THE VERDICT?
So far I’ve used the sprayer on a handful of projects using only Latex paint (interior & exterior). I’ve only required the tiniest of touch ups because the coverage is very thorough (and despite what I think, I’m not perfect every time). I did have the occasional issue of over spray because I had the aperture wide open which widened the fan pattern I was spraying with. If you dial it down and try some test areas, you should be able to quickly solve this issue. If you’ve got a giant cardboard box sitting around (what DIY’er doesn’t?) give it a few practice sprays to familiarize yourself. The folks at PaintWIZ recommended I do this with water if I didn’t want to waste any paint (brilliant!). Also, use common sense; this isn’t the precision airbrush they use to make custom t-shirts of Tweety Bird at the beach, this is a coverage sprayer, not a detailer. If you have areas you don’t want to get painted you’re going to need to do some prep and tape it off (double wide) or cover it up prior to spraying. The finish results gave no surprises. If I sanded my surface smooth ahead of time, then the application came out smooth as (Vanilla?) ice. If you spray a fresh cut sheet of plywood from the store, you’re not going to get a powder coat finish like it just came from the auto body shop. That’s just unreasonable. Just like any project, surface prep leads to great results. I will note that when I asked them about the ability to spray finish a cabinet door project I had coming up, the PaintWIZ folks did advise I wouldn’t be able to get the desired finished I was looking for. But then that’s a high-end job for a very high end sprayer. We’re talking every day DIY projects.
I have not used stain in the sprayer yet, but it’s absolutely an option. It makes me a little nervous to try it because stain gunks up everything, especially during a big job where it might dry quicker than I can finish a project. I read a few reviews on the web and people said they had no issues if you clean it as directed. I’ll keep you posted, but for now I’m using strictly paint.
You can pick up a PaintWIZ on Amazon* in the $100-$150 price point or directly at your local Wal-Mart. At this price you get a ton of bang for your buck compared to the more expensive models. You get the technology of a pro-grade sprayer in a light weight easy to use package with plenty of paint coverage. The ease of clean up alone puts it above the competition in the higher price bucket in my book. If you’re a beginner or seasoned veteran on a budget, it’s hard not to appreciate the value you get with this extremely portable unit. Whether its furniture, walls or even my test environment cardboard box, I’ve been very happy with the results from my PaintWIZ sprayer.
~Lazy Guy